
How to connect Databricks Spark to ClickHouse
Written by Amos Gutman, DoubleCloud Solution Architect
Clickhouse® is gaining more and more momentum in becoming the most prominent open-source database management system (DBMS) with its column-oriented structure.
One of the reasons for its meteoric rise in its popularity with the data community is its speed. The other, which I’ll be discussing in part today, is the wide range of applications it can be connected to and integrated with.
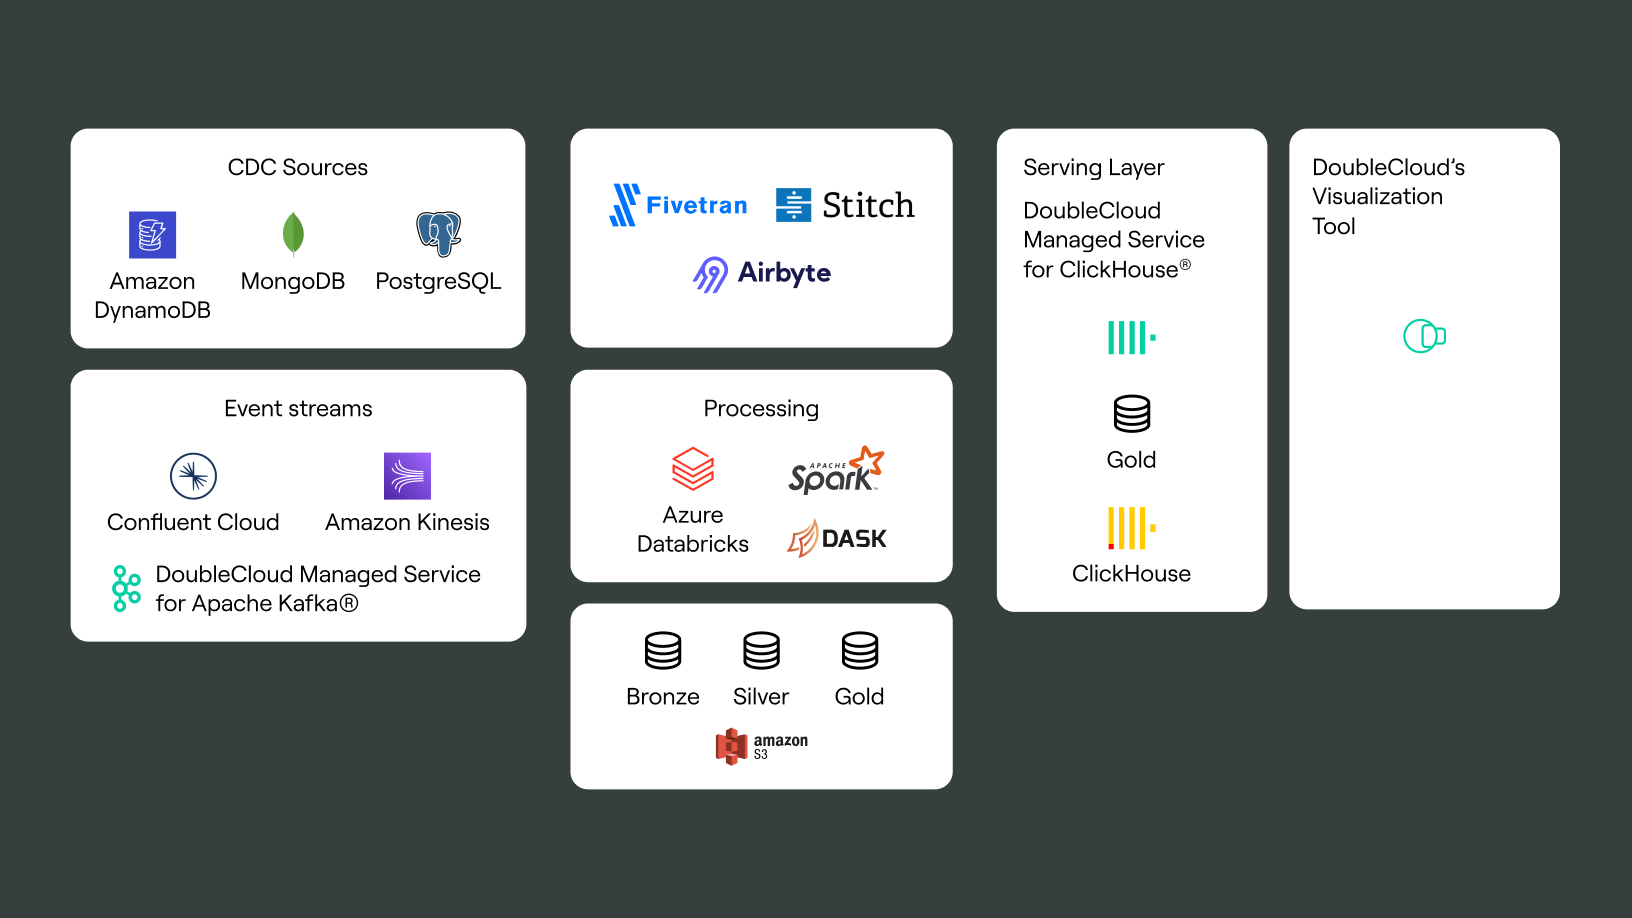
To start with, you’ll need to setup ClickHouse on Double.Cloud:
First, create an account here >> https://app.double.cloud/
Select Clusters:
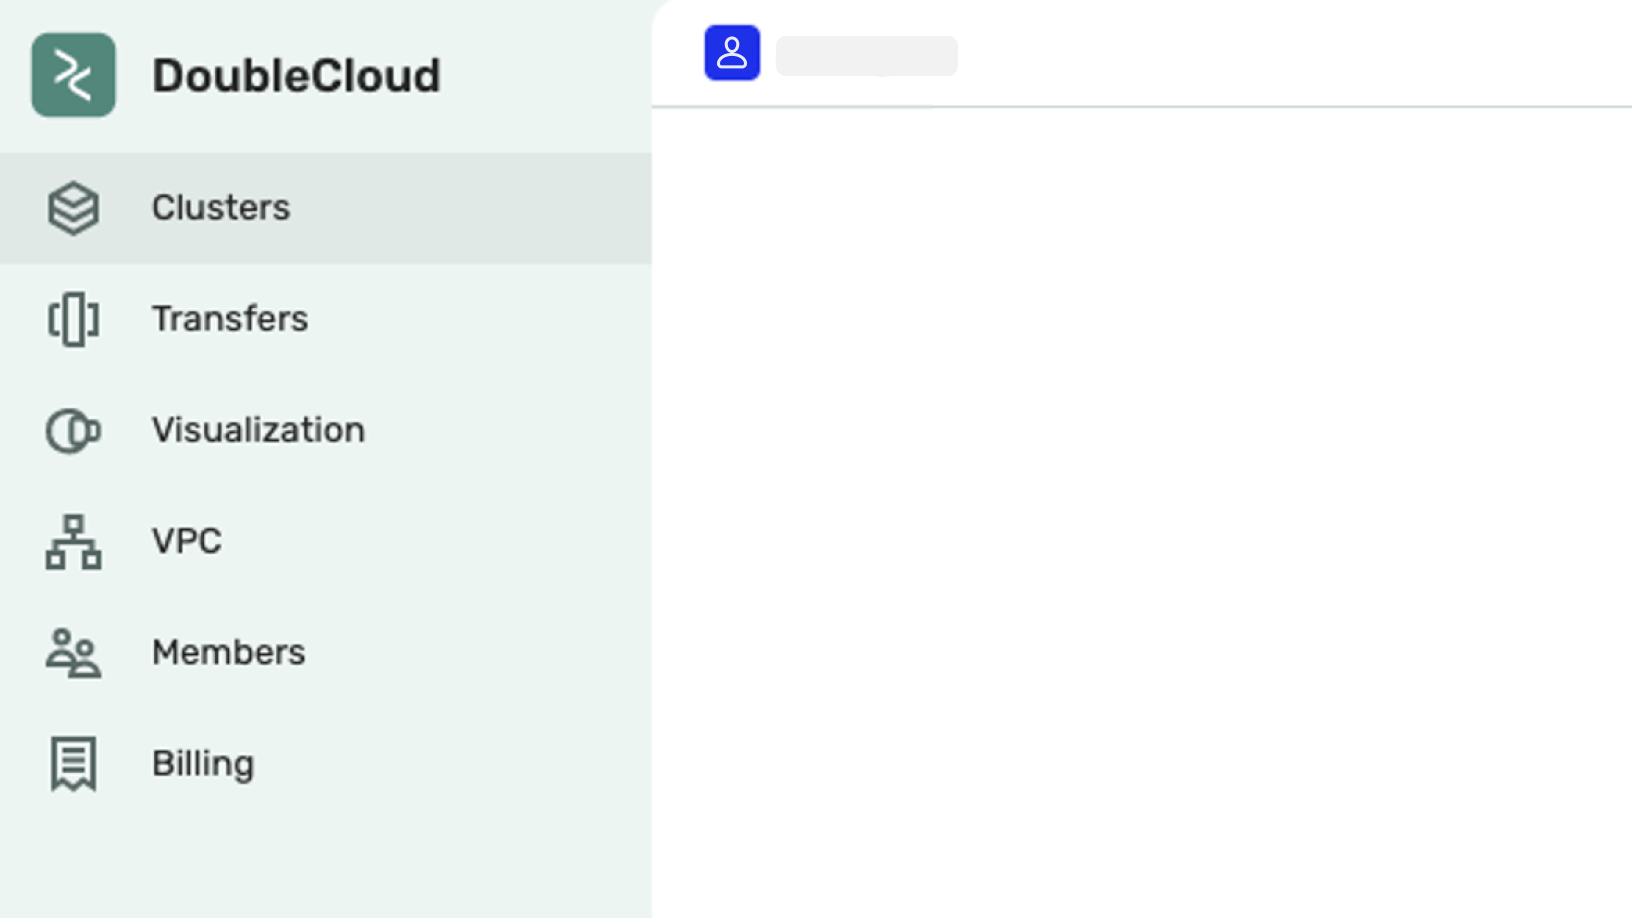
Once that’s done, you can start to connect Databricks Spark to ClickHouse by clicking create cluster here (see above).
Then you’ll need to choose your AWS region and define:
- Resources
- Replicas
- Shards
From there, Doublecloud will do the rest for you!
Now your cluster is up and running.

You’ll need to copy the jdbc connection string.
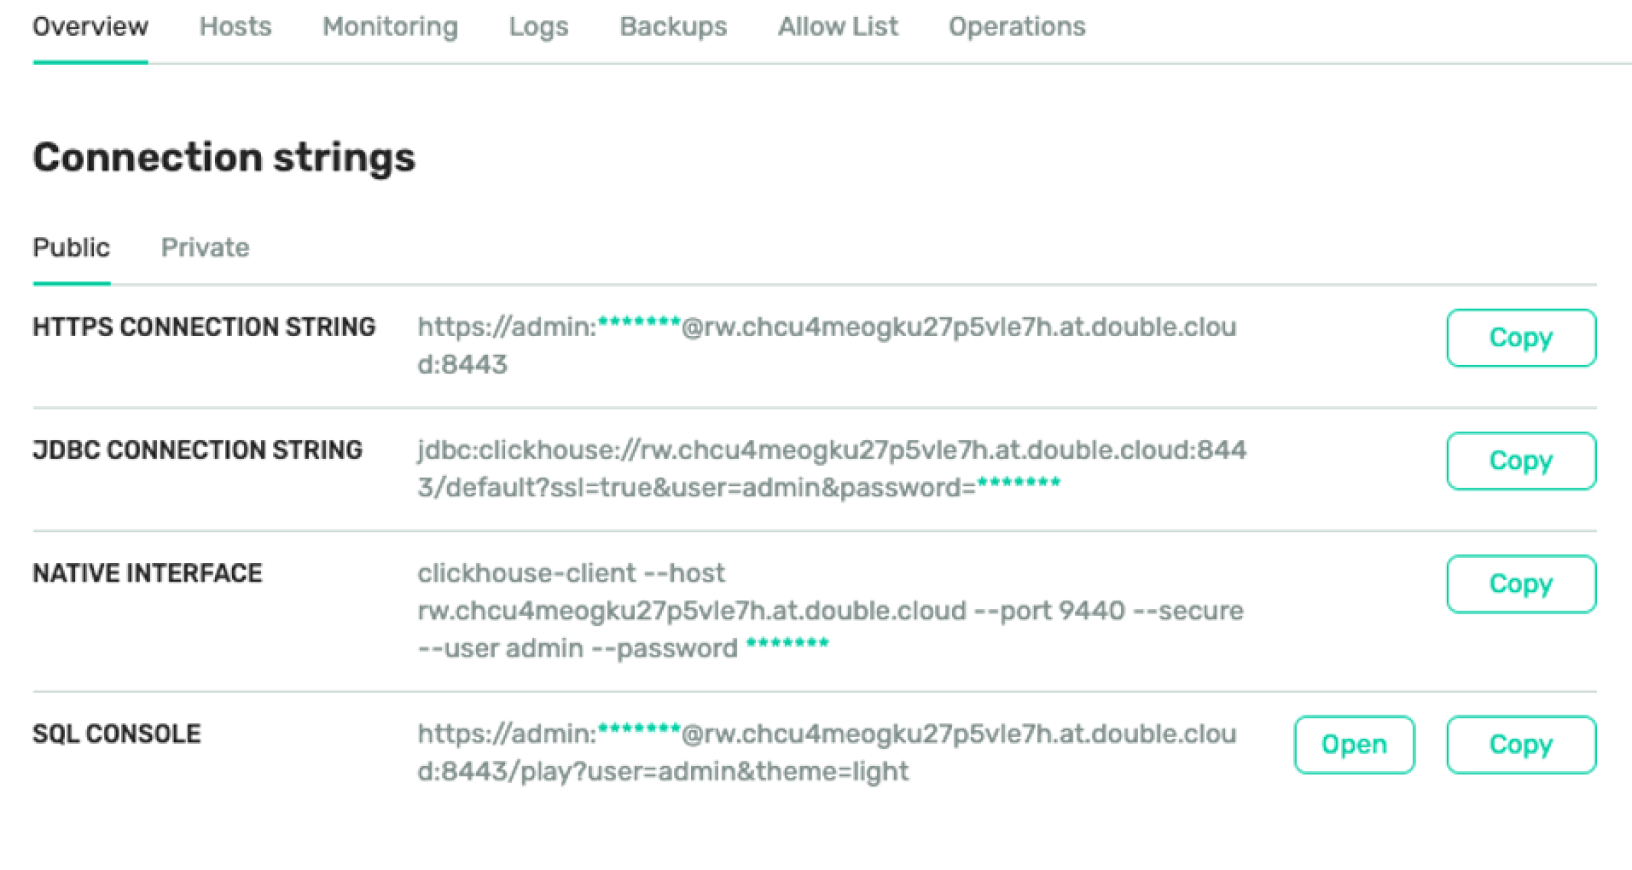
Make a note of this setup page as we’ll need to return to it later when we set up the communications between Databricks and ClickHouse on Double.Cloud.
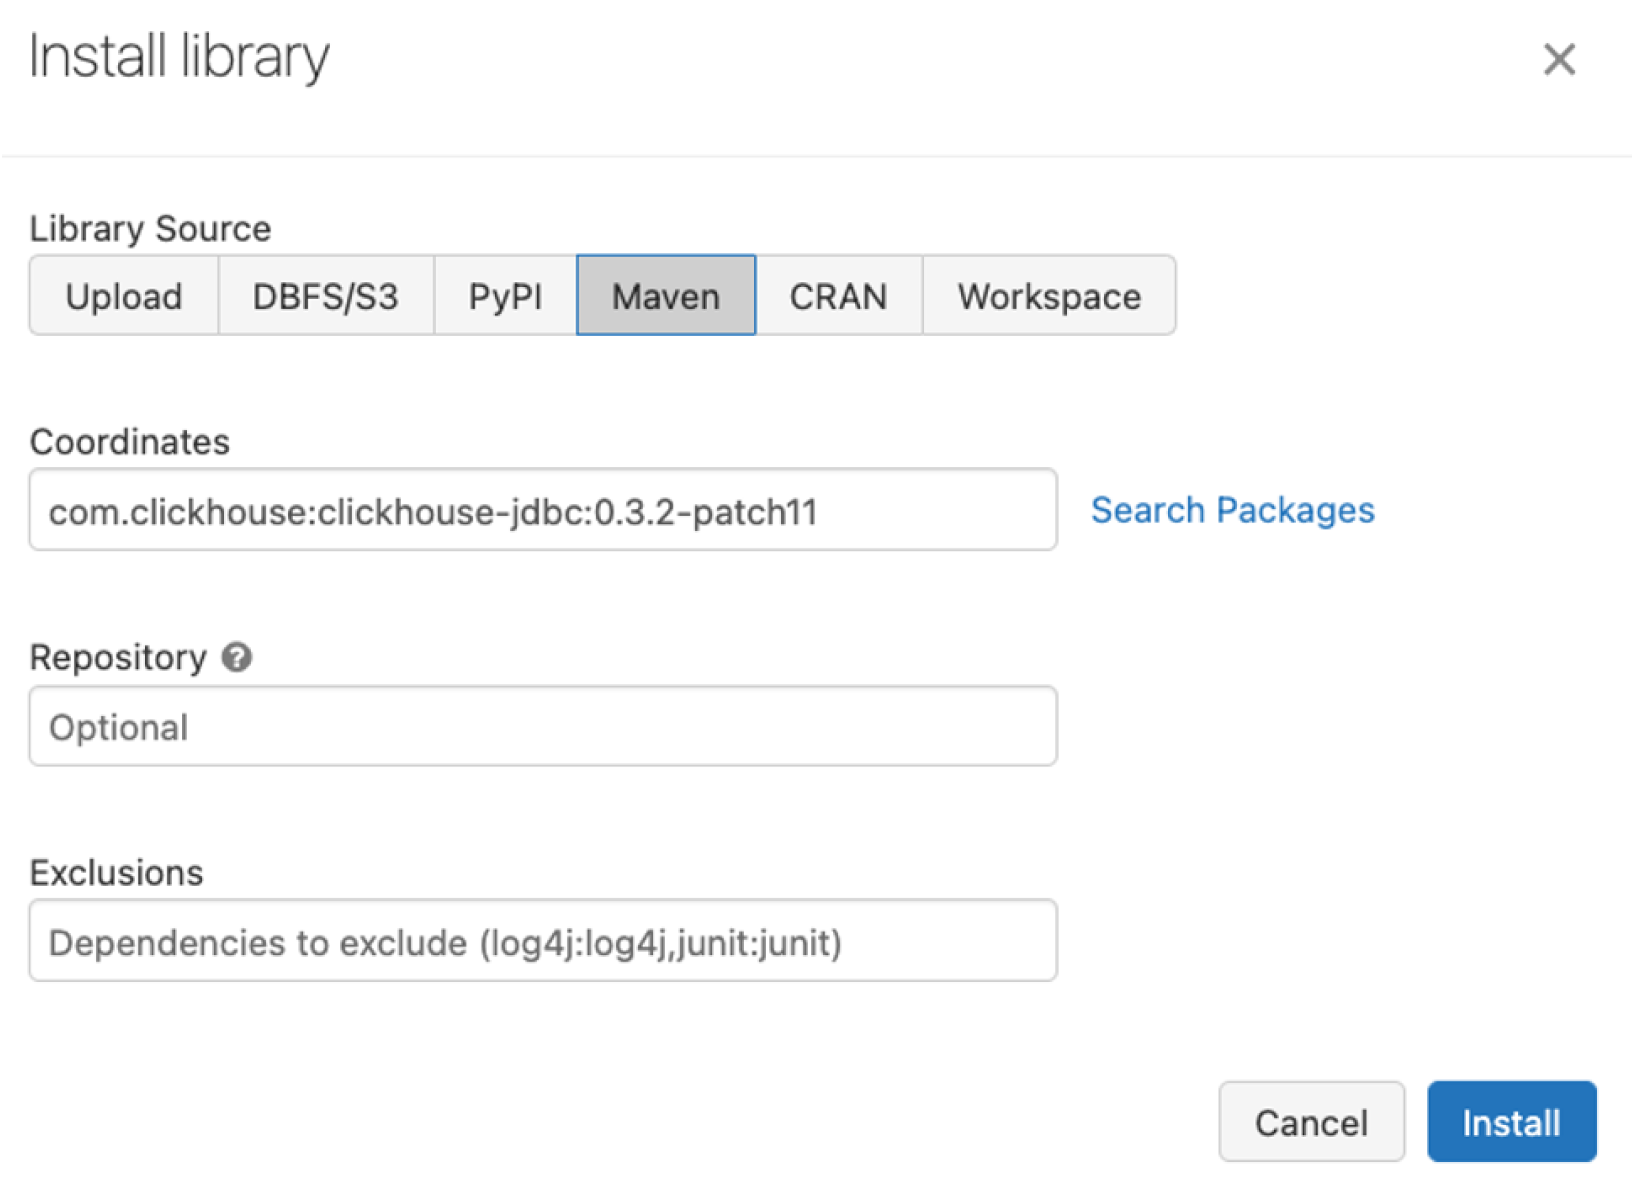
In your Databricks environment create a new cluster in the libraries tab…

Click Install new,
Select the maven option
And use the following coordinates:
Com.clickhouse:clickhouse-jdbc:0.3.2-patch11
It should now look like this:
Once that’s done you can create a new notebook and paste the following into it:
from requests import get

ip = get('https://api.ipify.org').content.decode('utf8')
print('My public IP address is: {}'.format(ip))
That should print something that should be your outwards public IP. You might be able to check that using the AWS console.
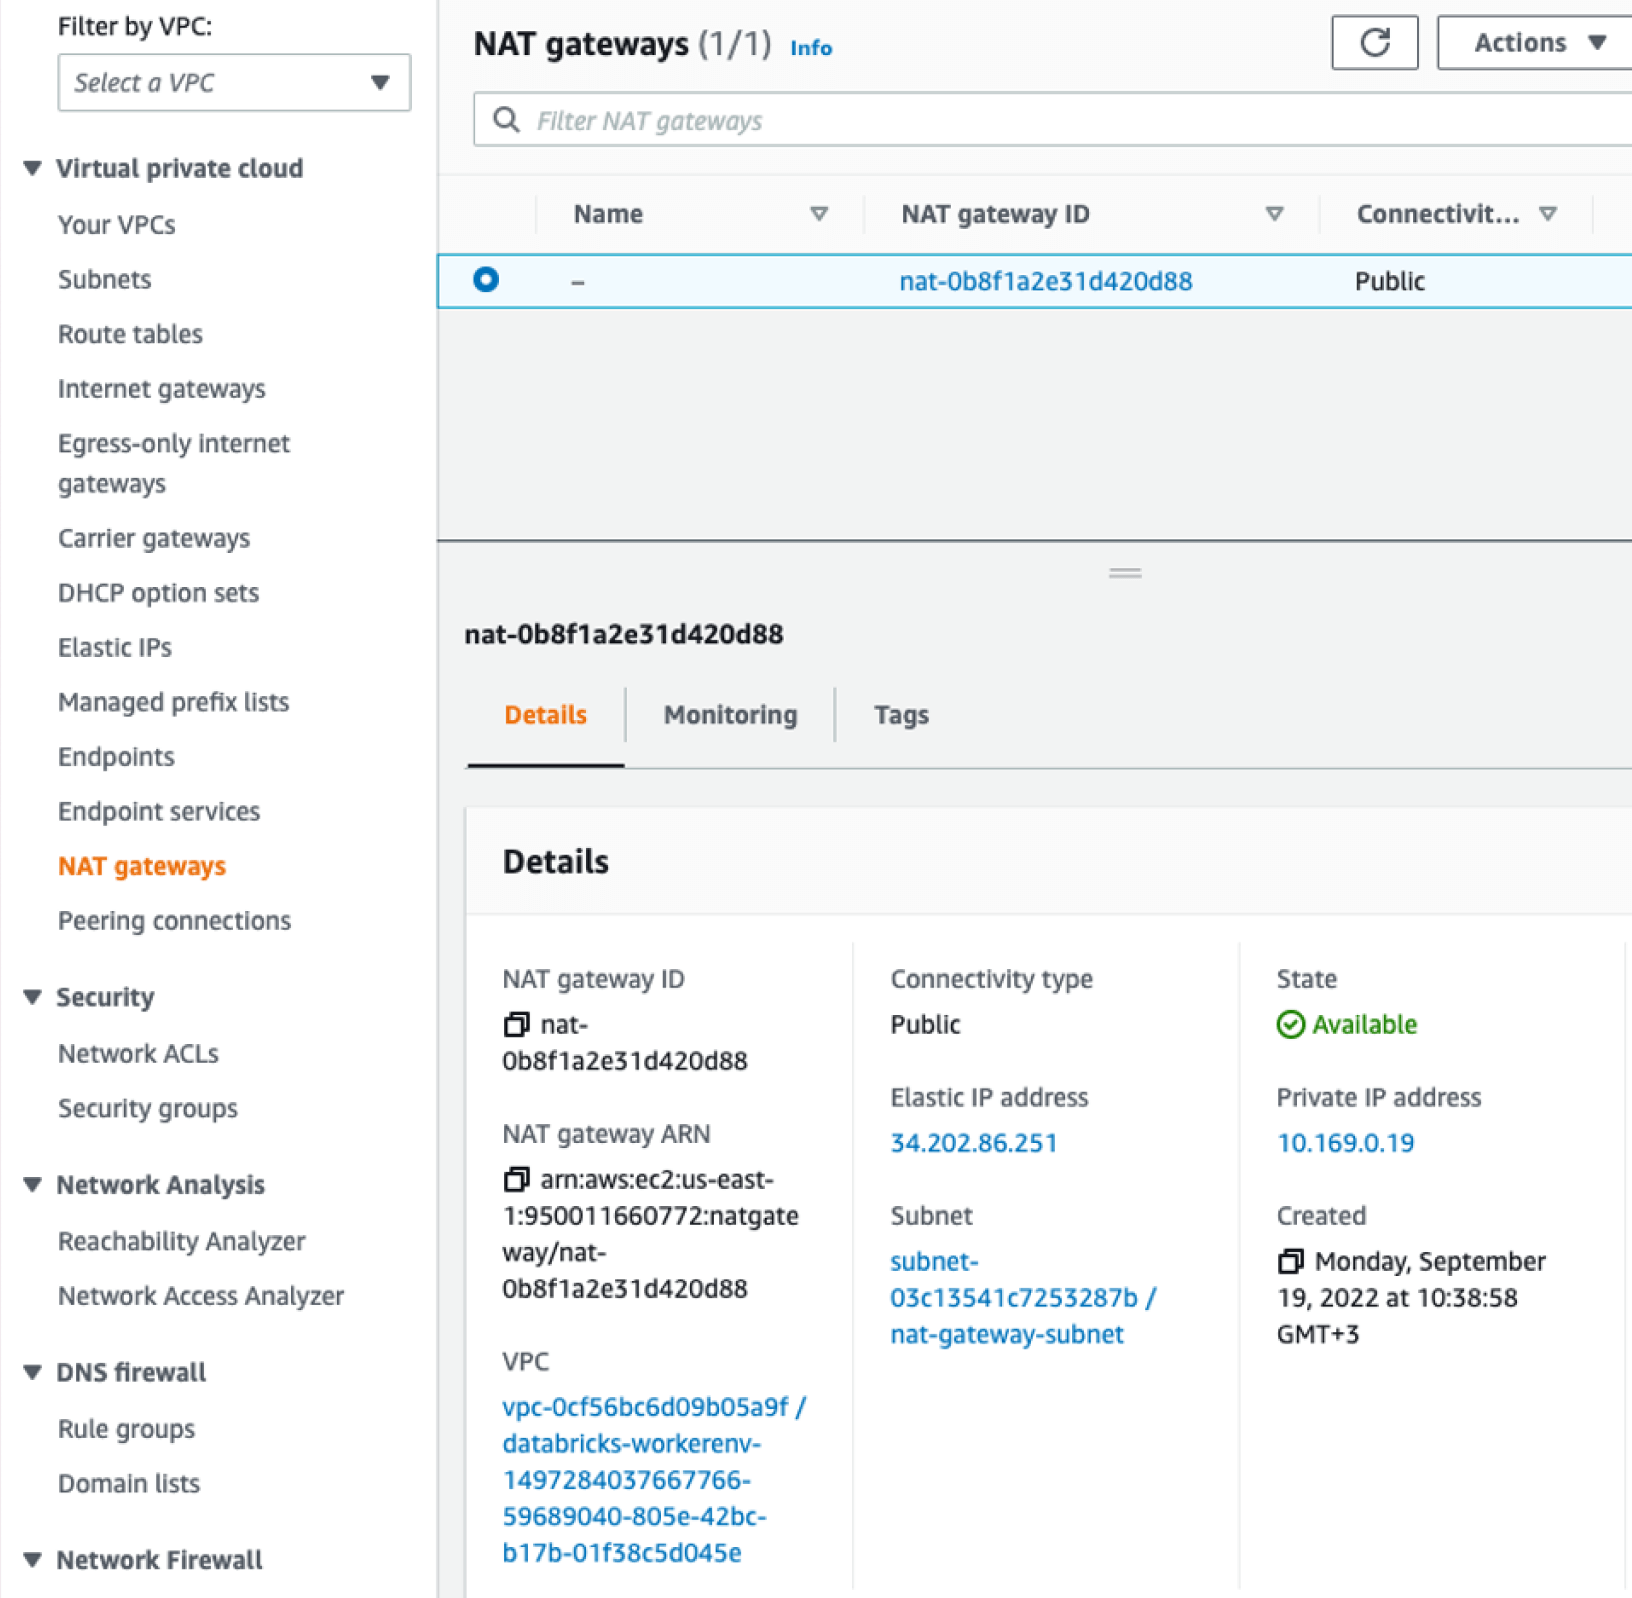
Cell #2:
jdbc_driver = "com.clickhouse.jdbc. ClickHouseDriver" #com.clickhouse.jdbc. ClickHouseDriver
host = "rw..at.double.cloud"
port = 8443
user = "admin"
password= "<some long garble>"
database = "default"
options = "ssl=true"
jdbc_url = f"jdbc:clickhouse://{host}:{port}/{database}?{options}&user={user}&password={password}"
jdbc_url
Cell #3:
spf = spark.read \
    .format("jdbc") \
    .option("driver", jdbc_driver) \
    .option("url", jdbc_url)

display(spf \
    .option("query", "select * from default.amosrocksdb") \
    .load())
This will run the query on your query.
Last cell query was Select * from default.<table_name>.
We’ll now create an example dataframe:
import datetime
now = datetime.datetime.now()

df1 = spark.createDataFrame(
        [(now.isoformat(), 1,'some sort of values')],
    schema = ['key','val1','val2'])

display(df1)
This will produce something like:
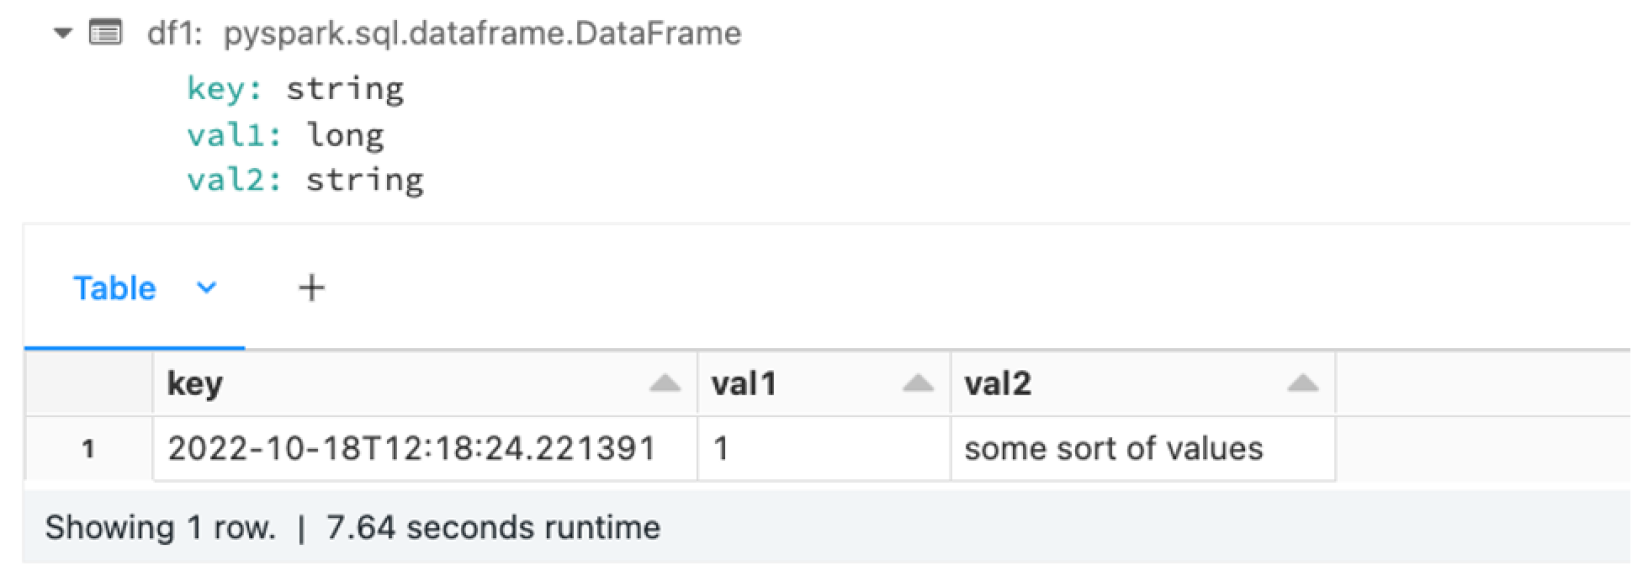
To actually write to the table:
df1.write \
.format("jdbc") \
.mode("append") \
.option("driver", jdbc_driver) \
.option("url" ,jdbc_url) \
.option("dbtable" , "default.amosrocksdb") \
.save()
And there we go
Pushing our datalake data into clickhouse — enabling better query response.
ClickHouse® is a trademark of ClickHouse, Inc. https://clickhouse.com
Start your trial today


