Get started with Managed Service for Apache Airflow®
Airflow® is an open-source platform for developing, scheduling, and monitoring batch-oriented workflows. This guide walks you through how to create a Managed Apache Airflow® cluster on DoubleCloud, connect to the webserver, and run a simple DAG .
Tip
This guide explains how to create a cluster with minimal configuration, which is enough for testing the service. However, when creating a production Airflow® cluster, make sure to select the configuration that corresponds to your expected workload.
Before you begin
-
Log in or sign up to the DoubleCloud console .
Note
If you're a new DoubleCloud user, this tutorial won't incur you any costs — you can use the trial period credits to test the platform, including creating fully operational clusters.
To be able to spend trial period credits on Airflow, contact our support.
Step 1. Create a cluster
-
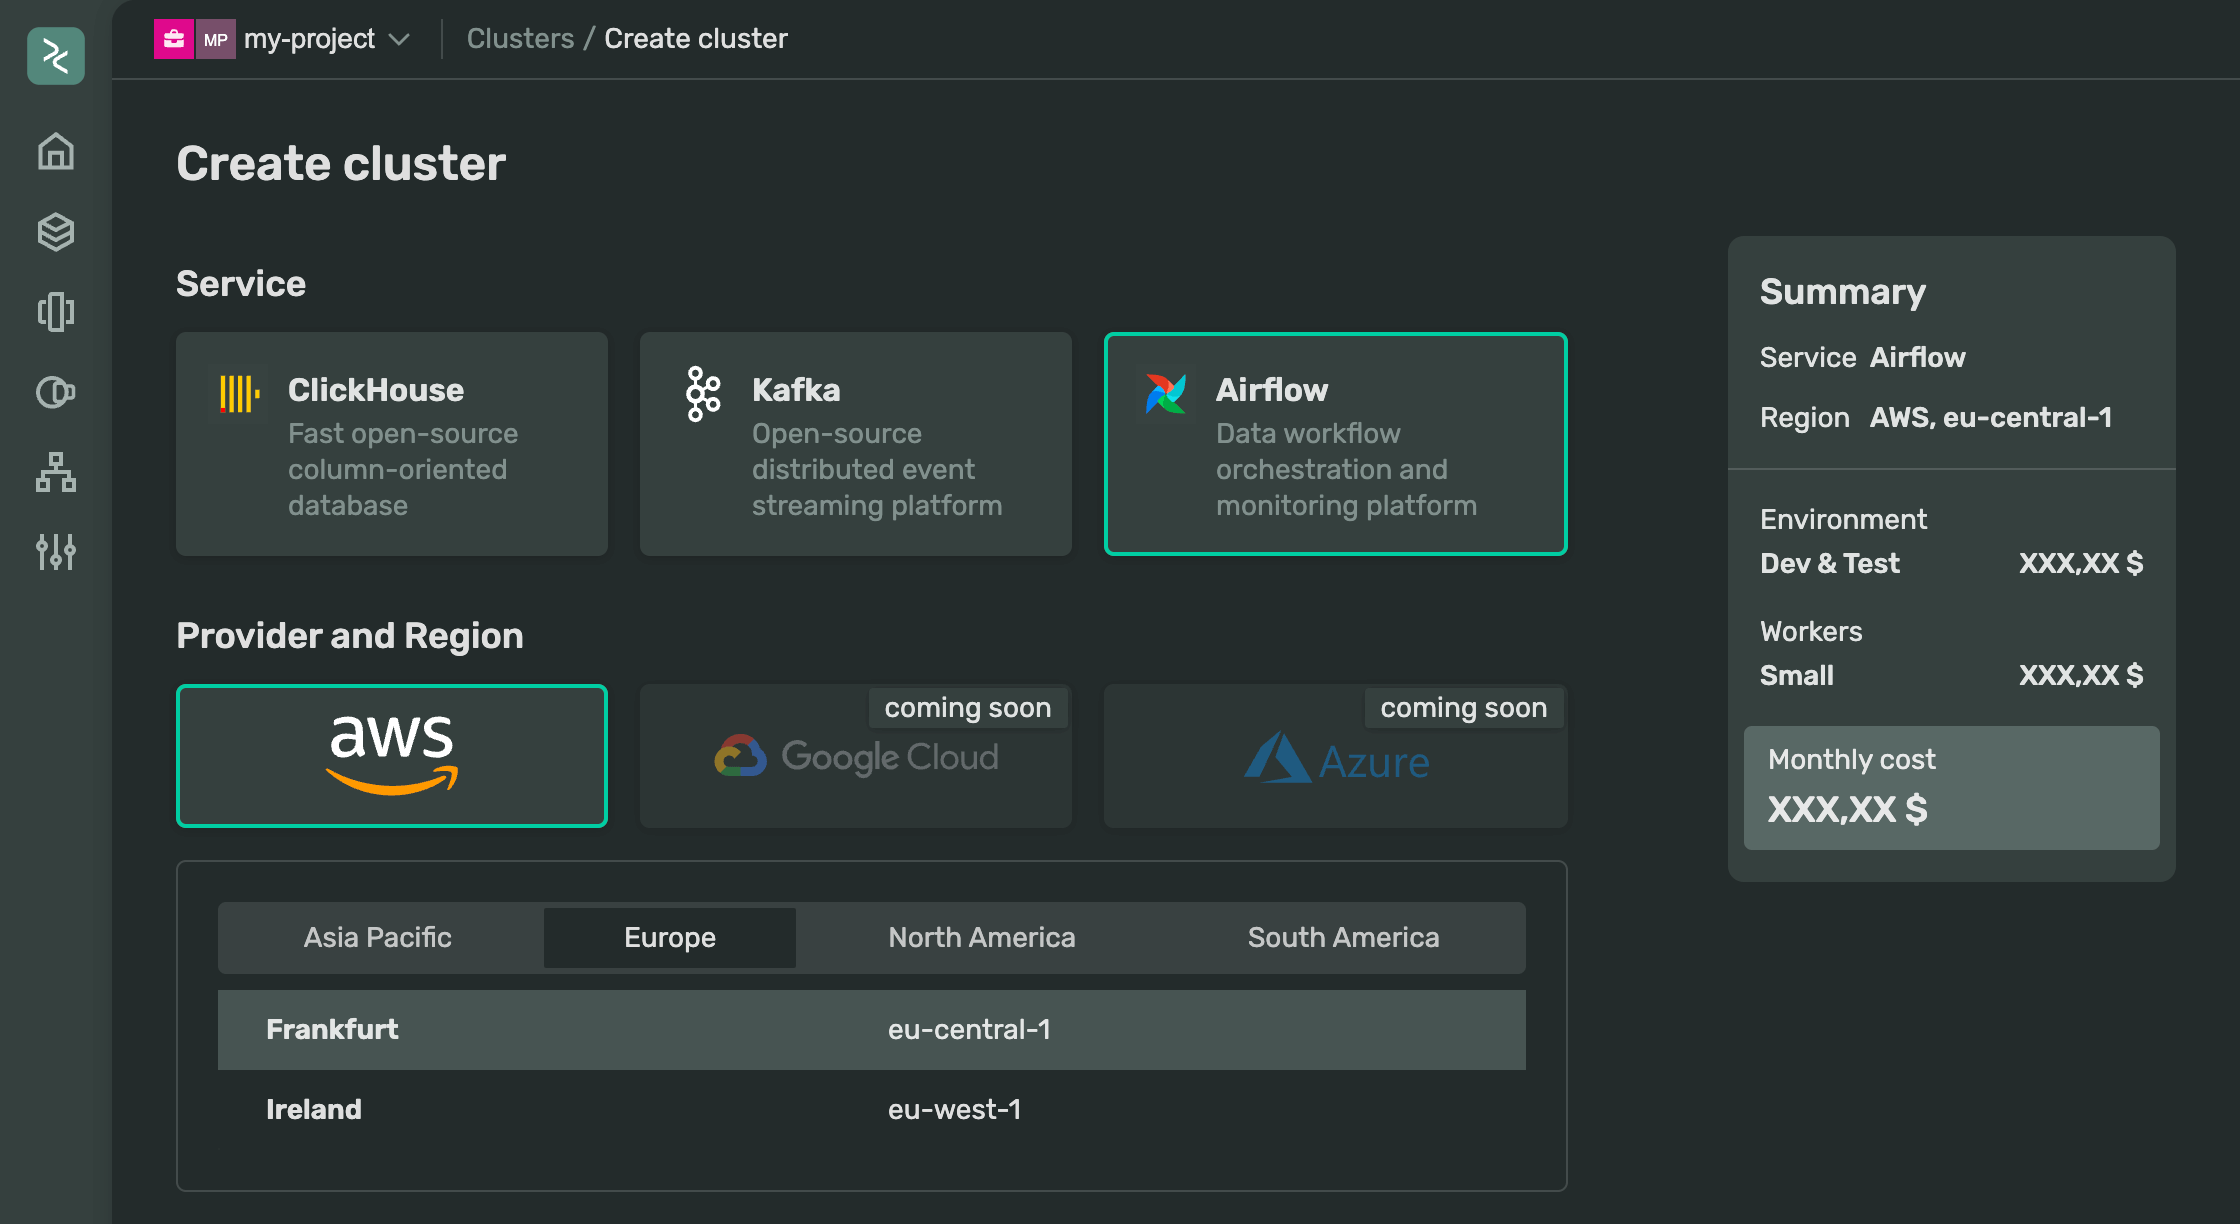
Go to the Clusters page in the console and click Create cluster.
-
Select Airflow.
-
In Provider and Region, select a region to create the cluster in.
You can create Managed Apache Airflow® clusters on AWS in any of the available regions.
-
Leave the preselected default values in Cluster configuration and Worker node resources.
-
Under Basic settings enter the cluster name, such as
airflow-dev. Leave the latest Airflow® version that's preselected -
Under DAG code repository, click Prefill with example to add connection details for the repository with sample DoubleCloud DAGs .
-
Leave the preselected default values in the Advanced section.
-
Click Submit.
When the cluster is ready, its status changes from Creating to Alive.
Step 2. Log in to your Airflow®
-
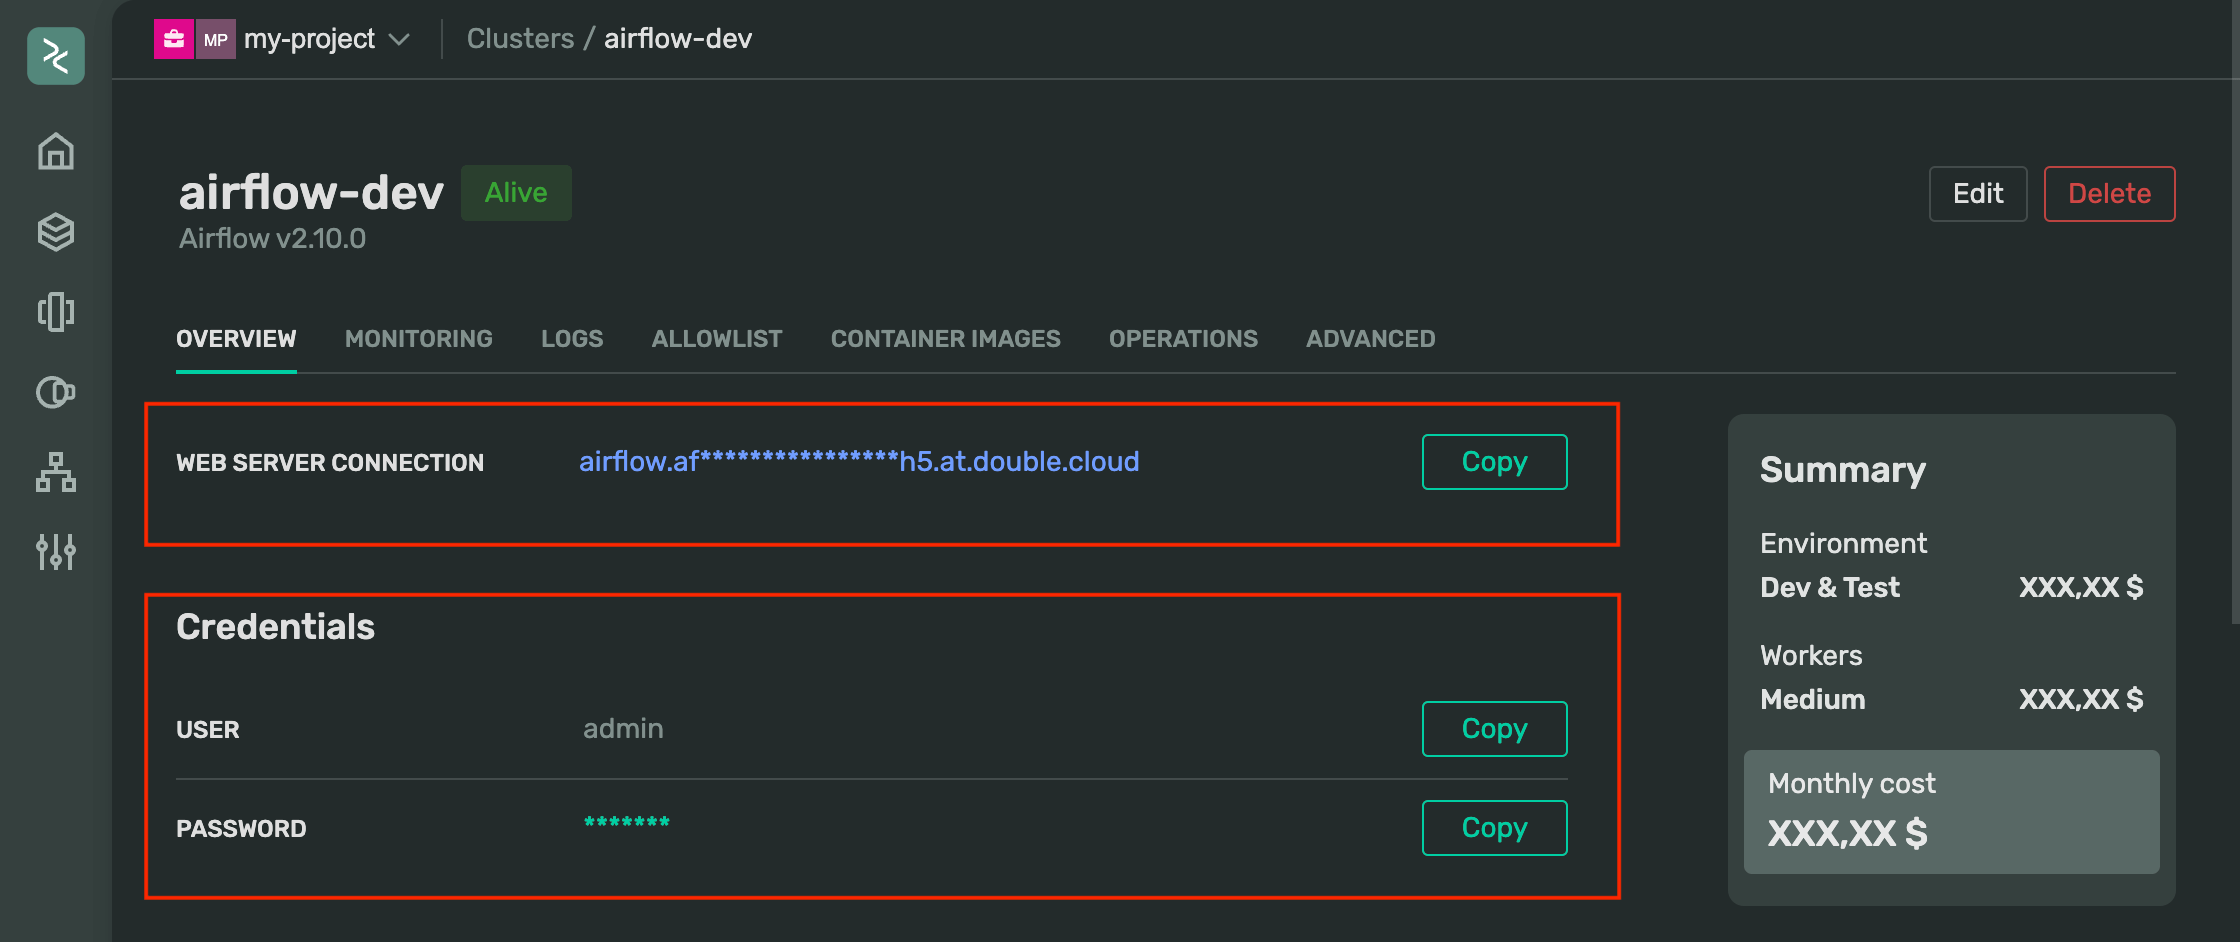
When the cluster status changes to Alive, select it from the list.
-
Click the link in Webserver connection on the Overview tab.
-
In the Airflow® login form, enter the username and password from the Credentials section on the cluster's overview tab.
Now you can run DAGs and create workflows from your Airflow® cluster's web interface.
Step 3. Run the example DAG
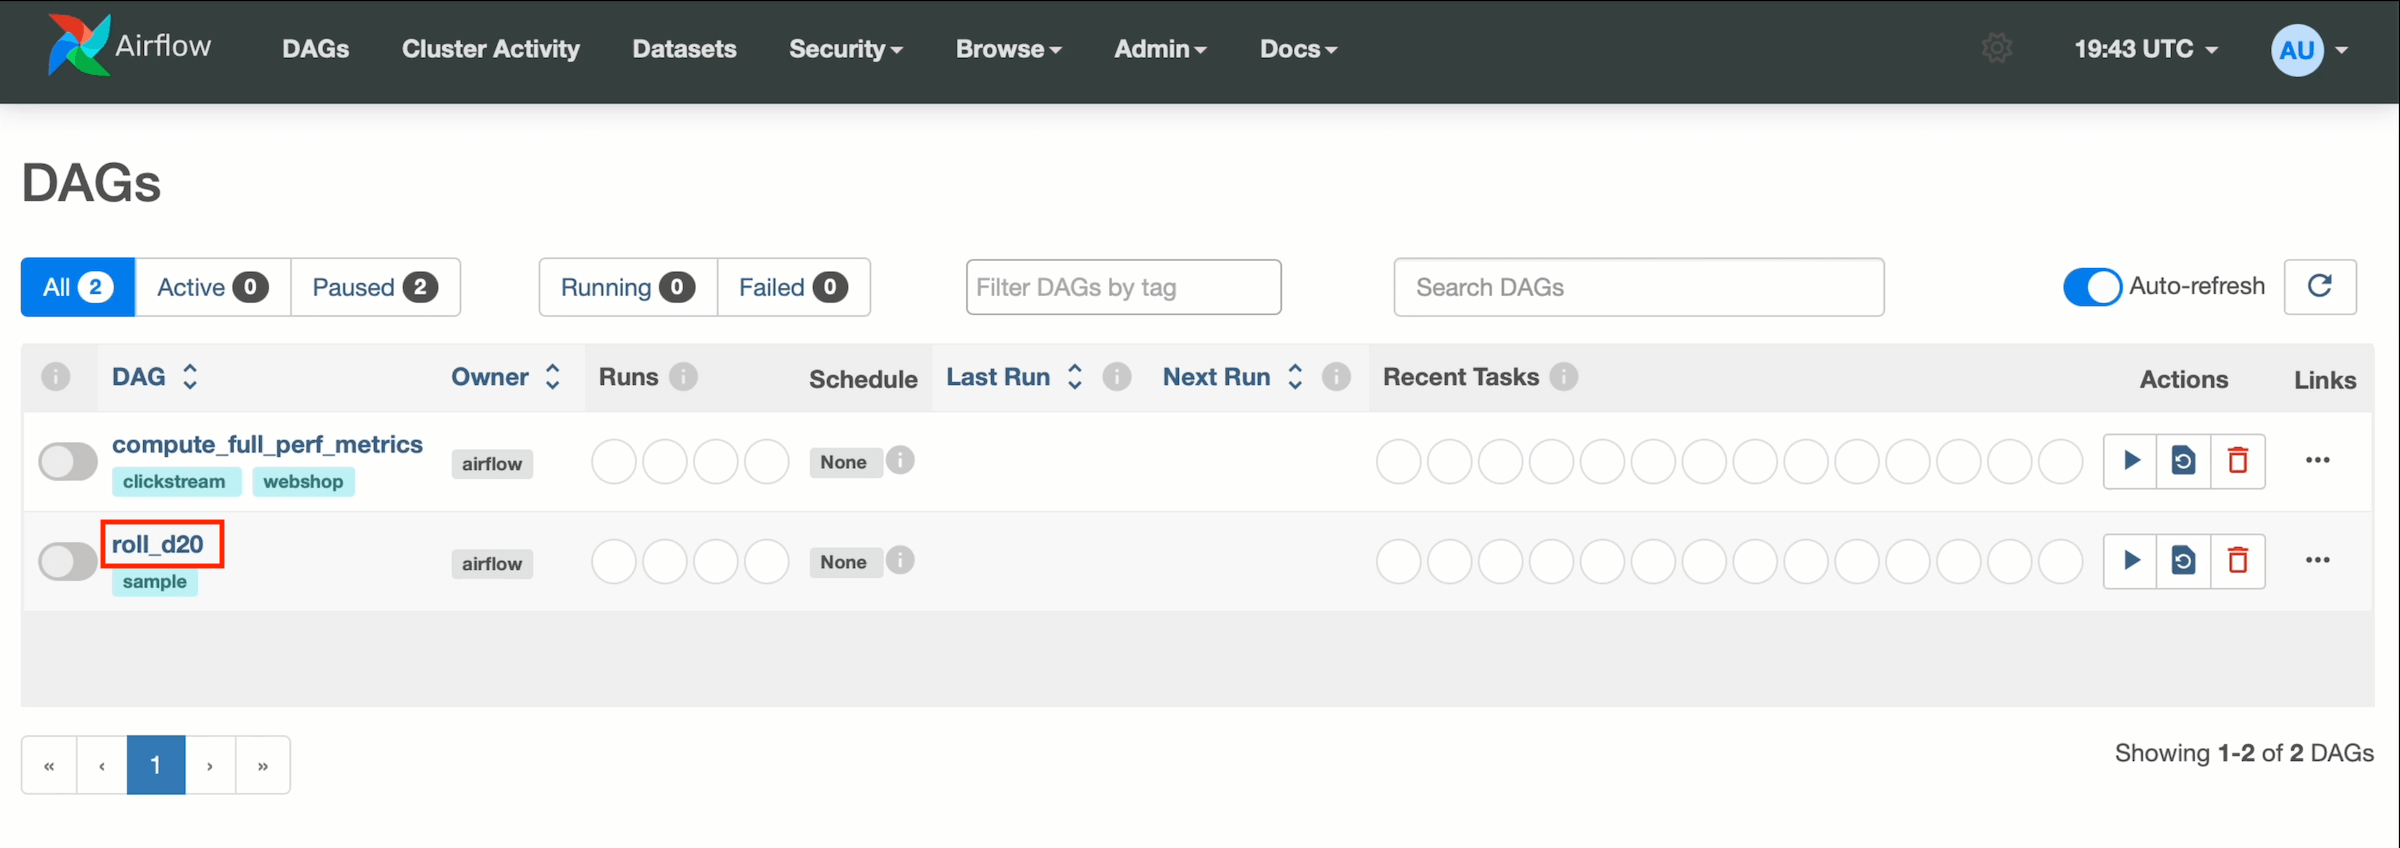
The example DAG in the repository is called roll_d20, and it returns a random number between 1 and 20.
To run the DAG, take the following steps:
-
In the Airflow webserver interface, click on the DAG name:
-
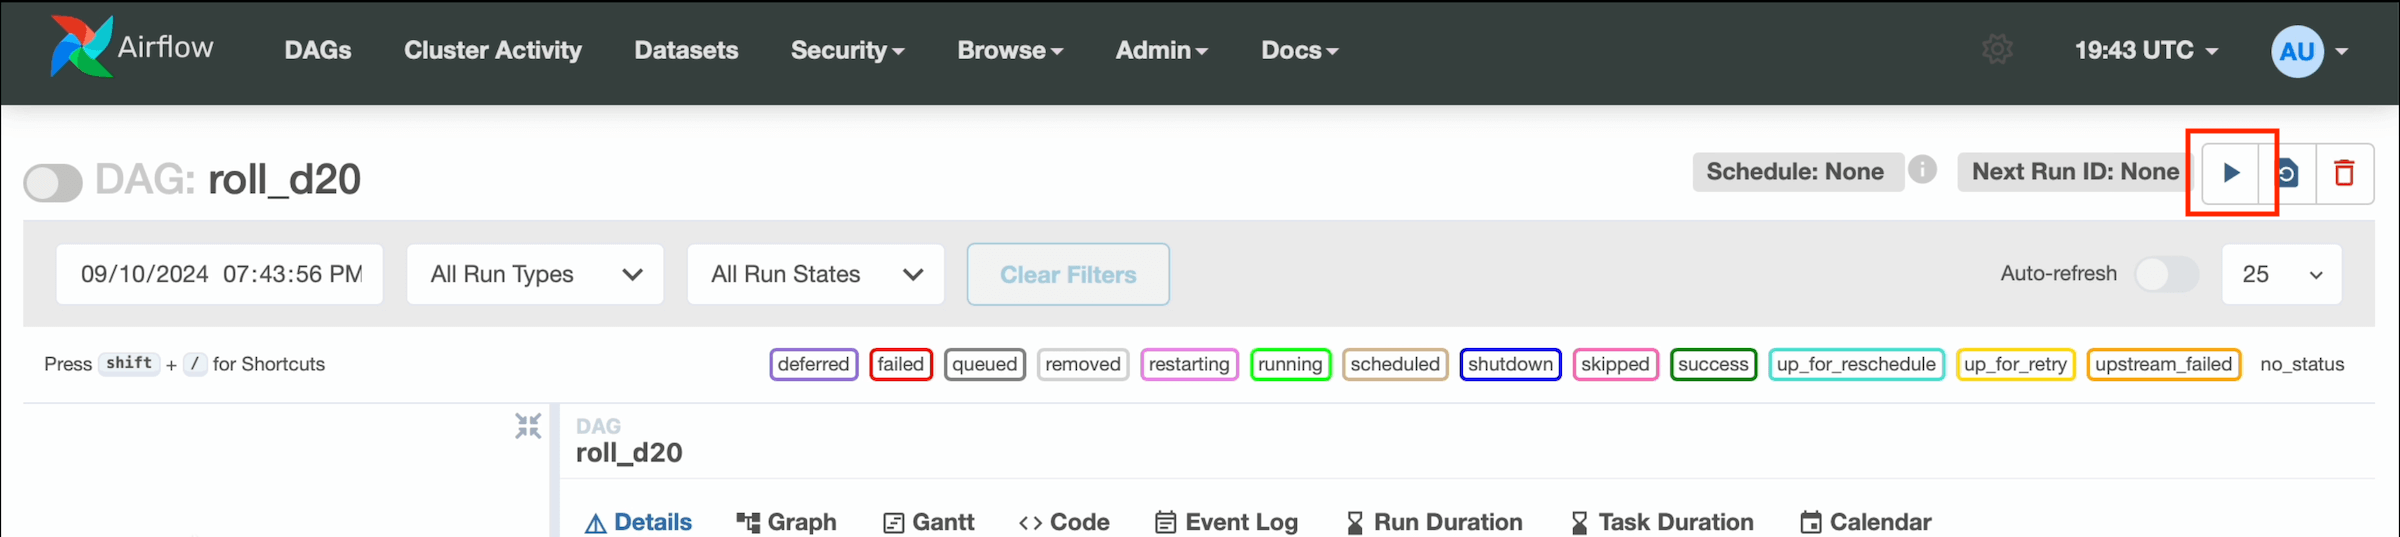
Click the Trigger DAG button at the top right:
-
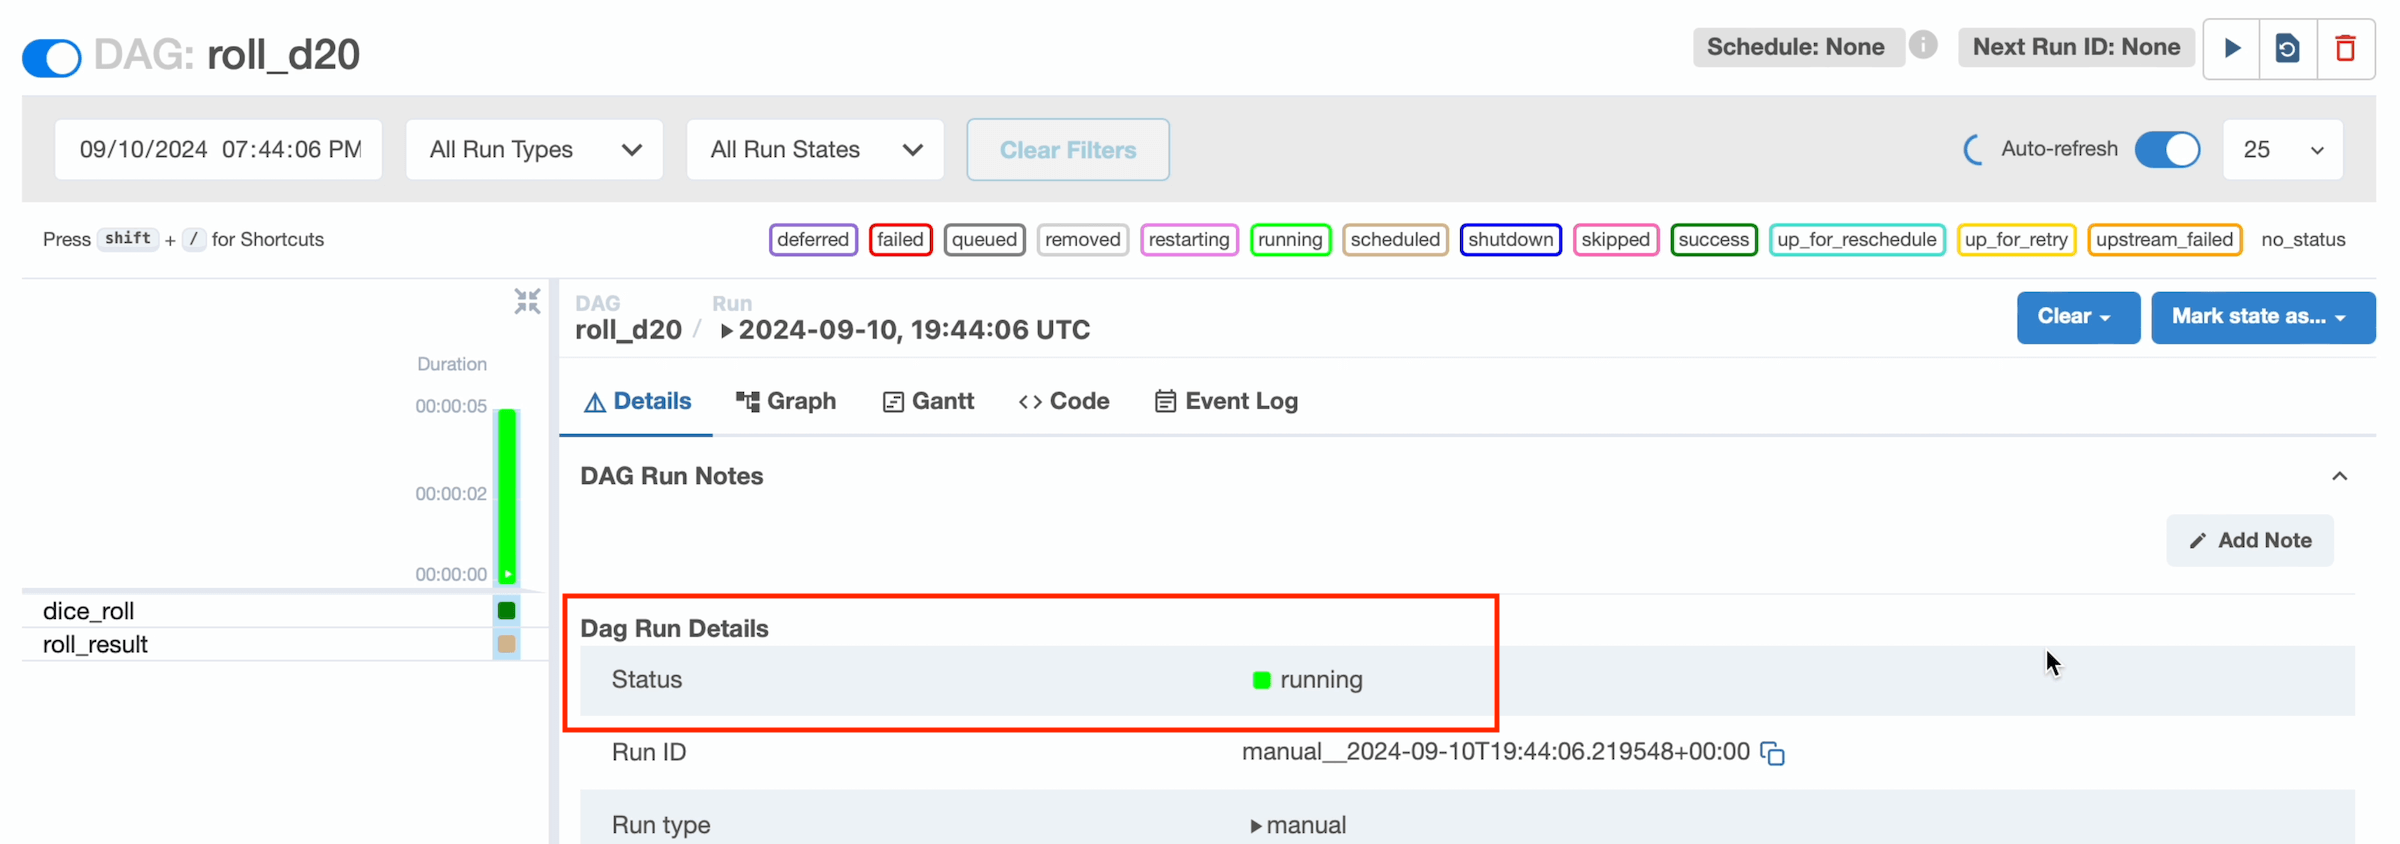
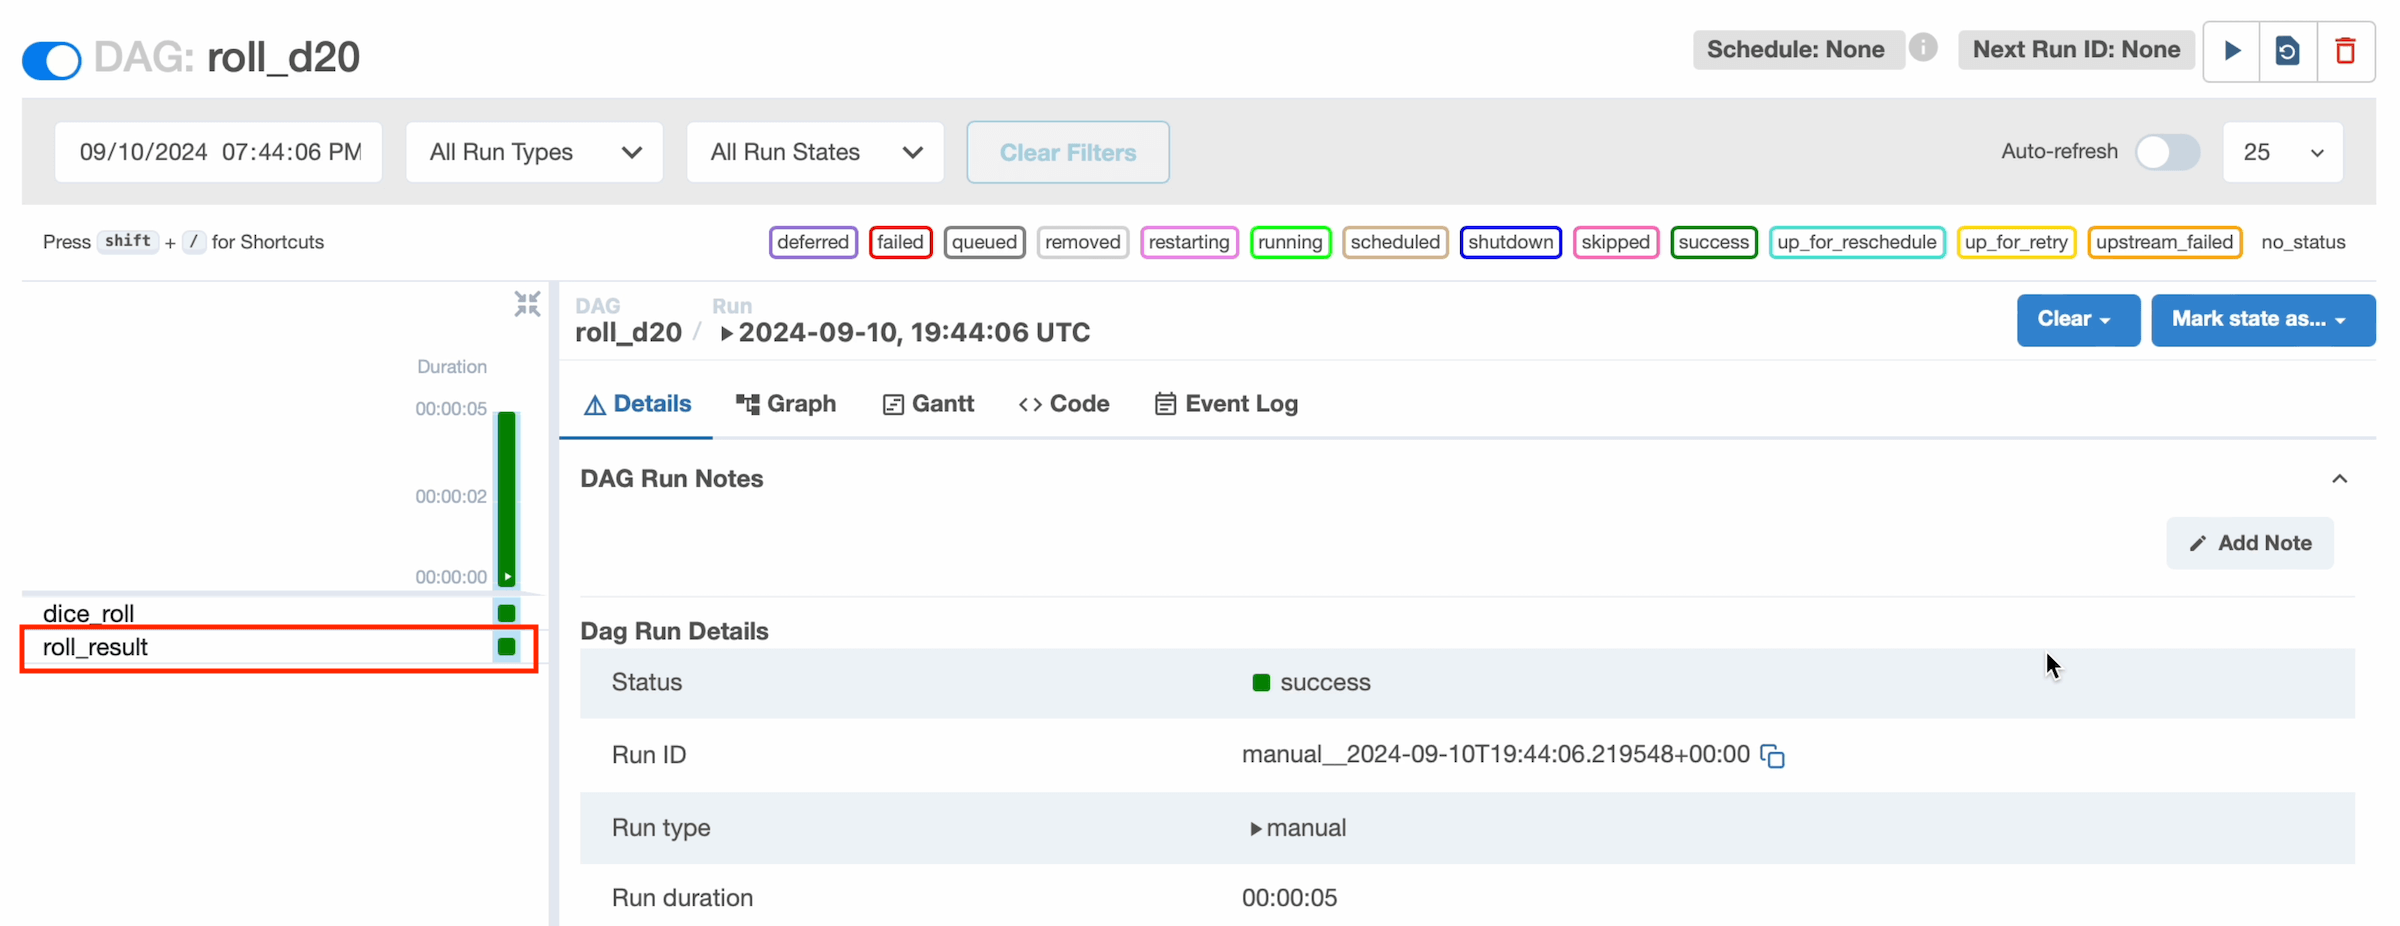
Wait until Status in DAG run details changes from queued to running and finally to success.
-
In the left panel, click the green rectangle next to roll_result.
-
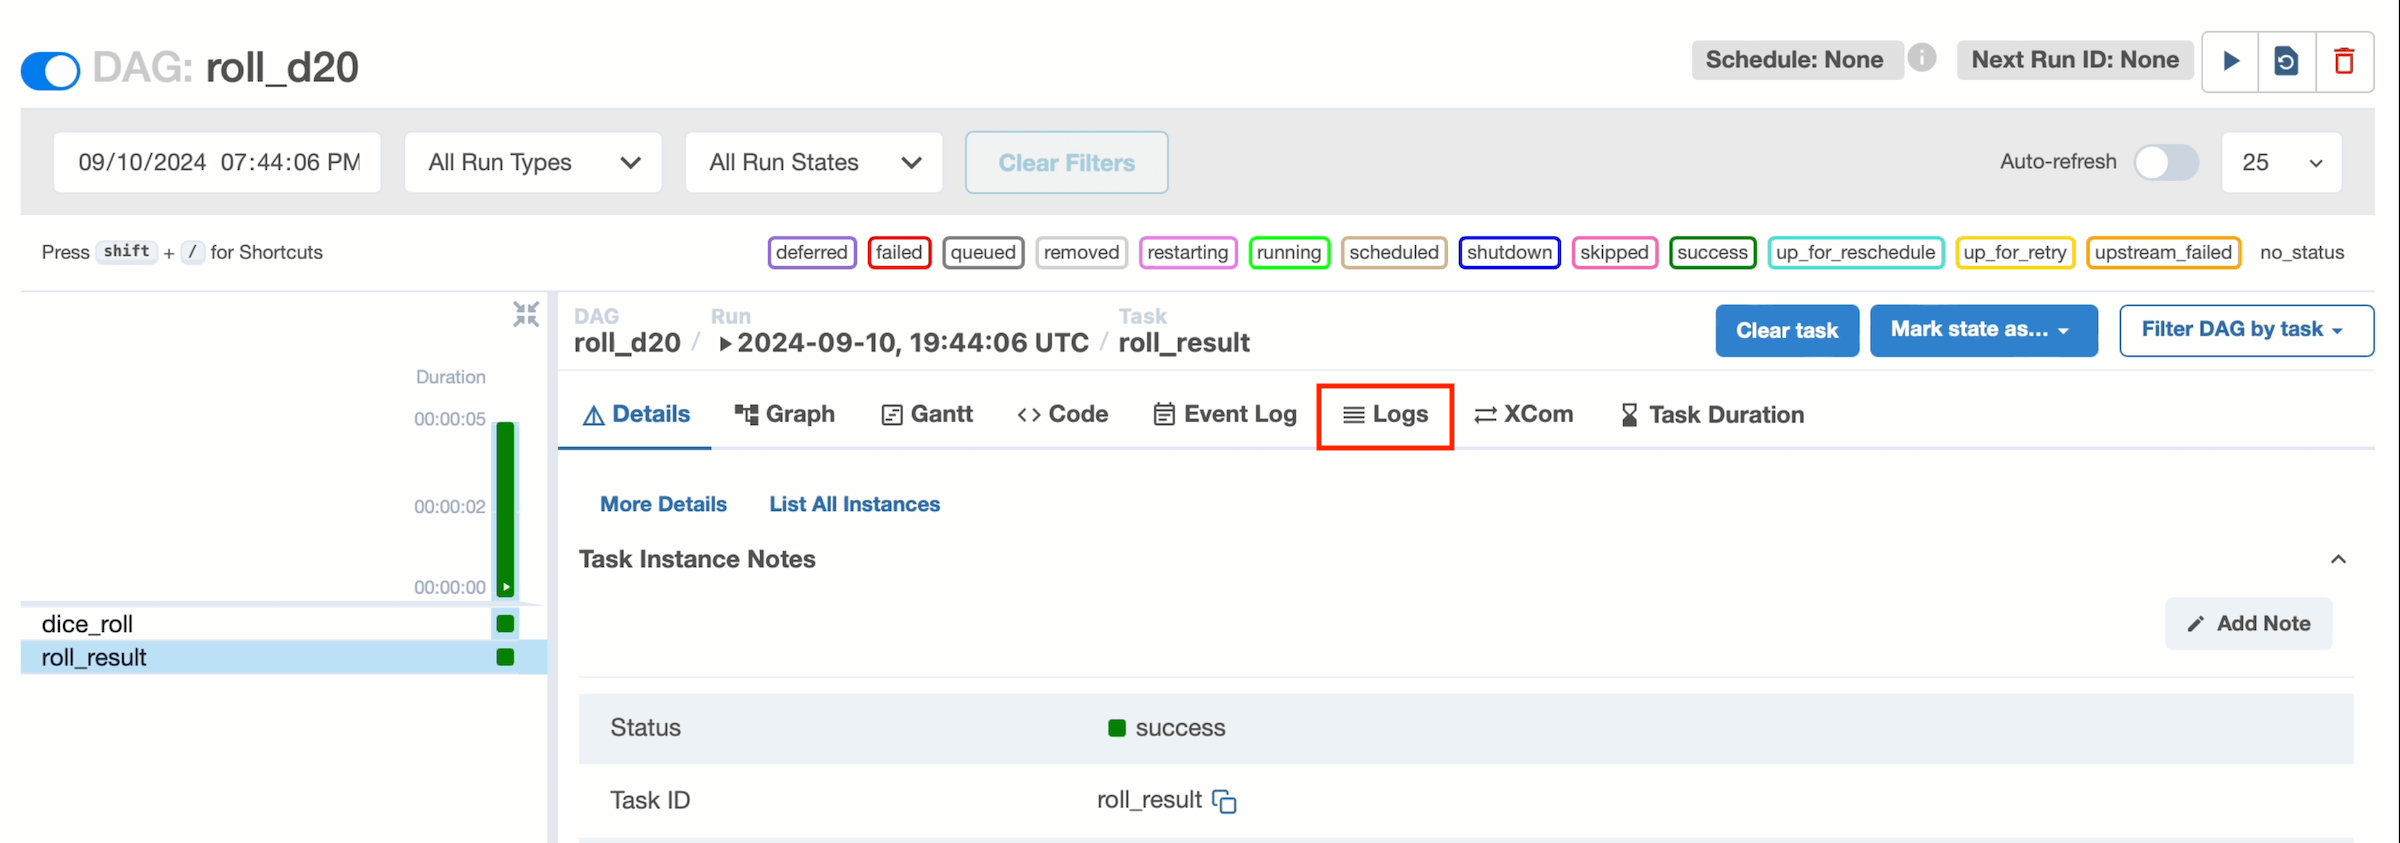
Switch to the Logs tab.
-
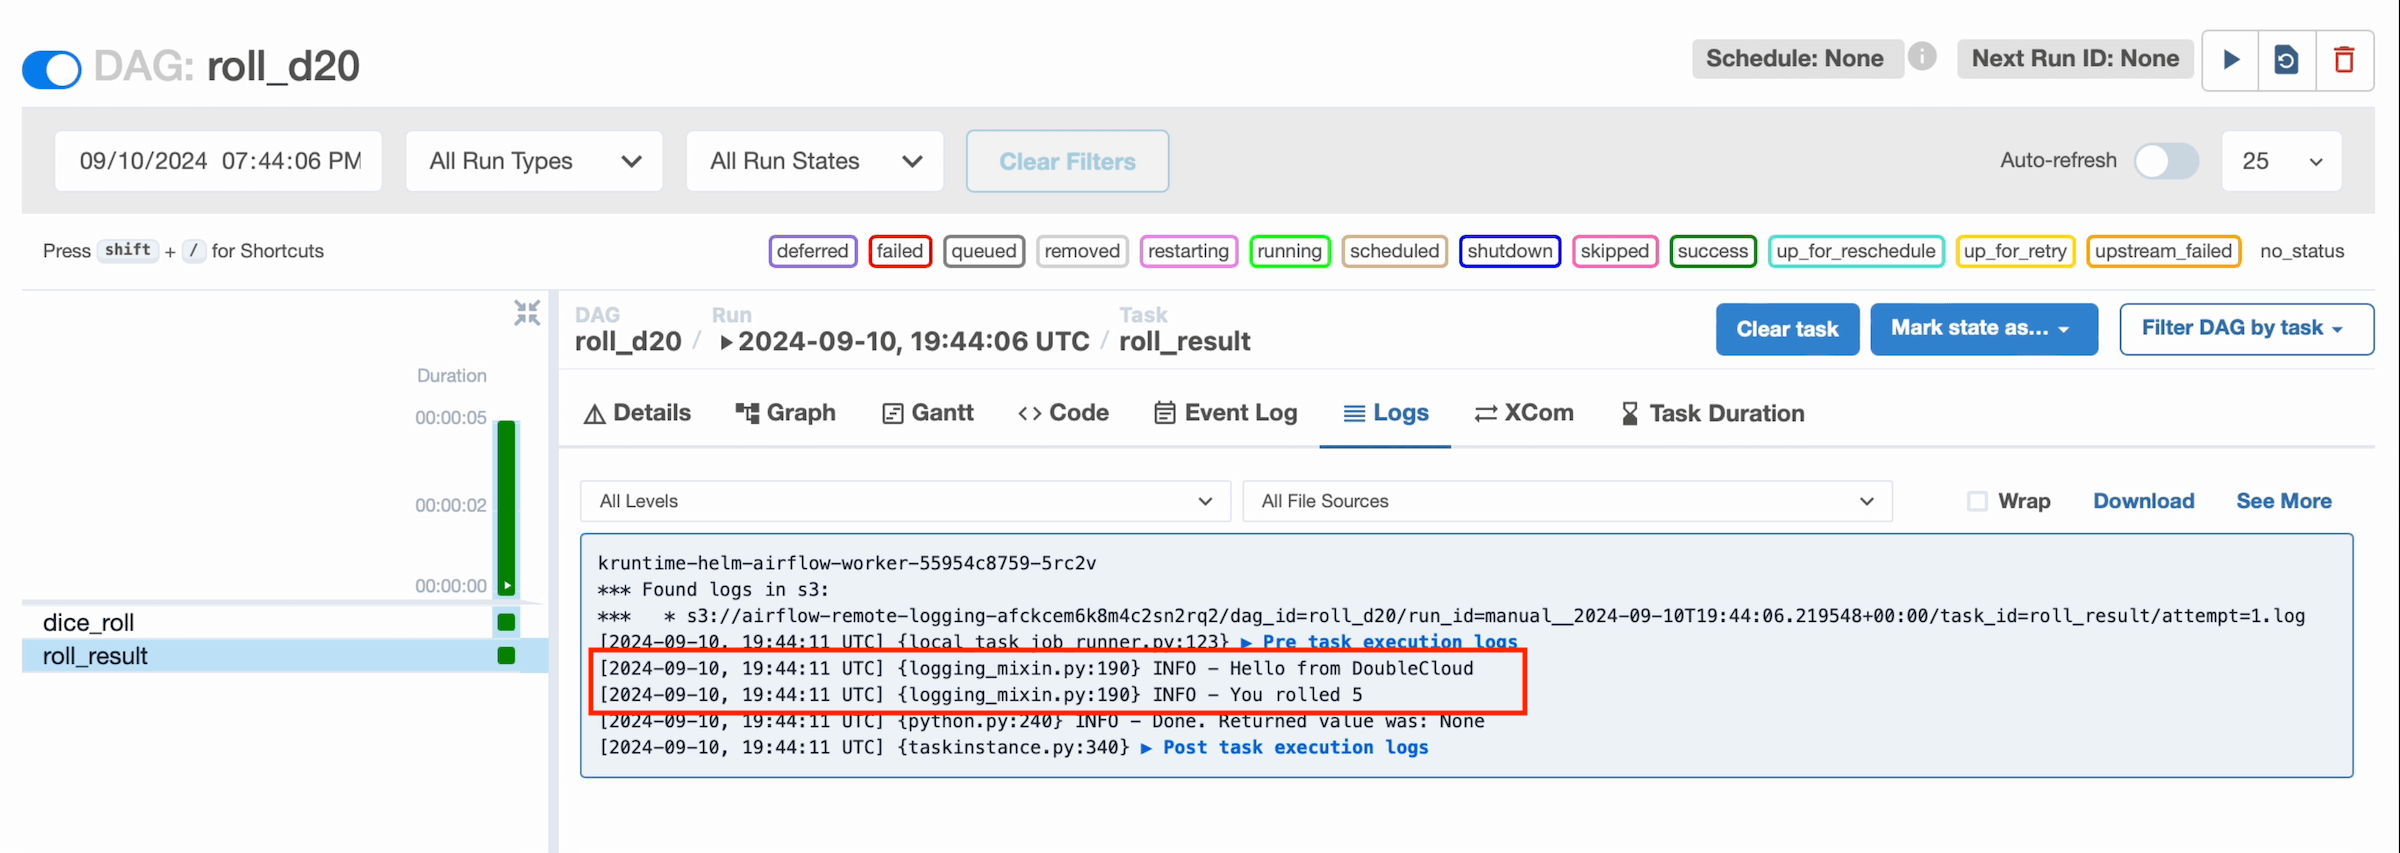
You can see the DAG output:
Step 4 (Optional). Clean up
When you no longer need resources, it's good practice to delete them, so that you don't incur additional costs.
To delete an Airflow® cluster, select it on the Clusters page in the console and click Delete at the top right.
What’s next
Now that you have learned how to create an Airflow® cluster, connect to it, and run DAGs continue exploring the DoubleCloud platform or create a production cluster for your needs.