Tree chart
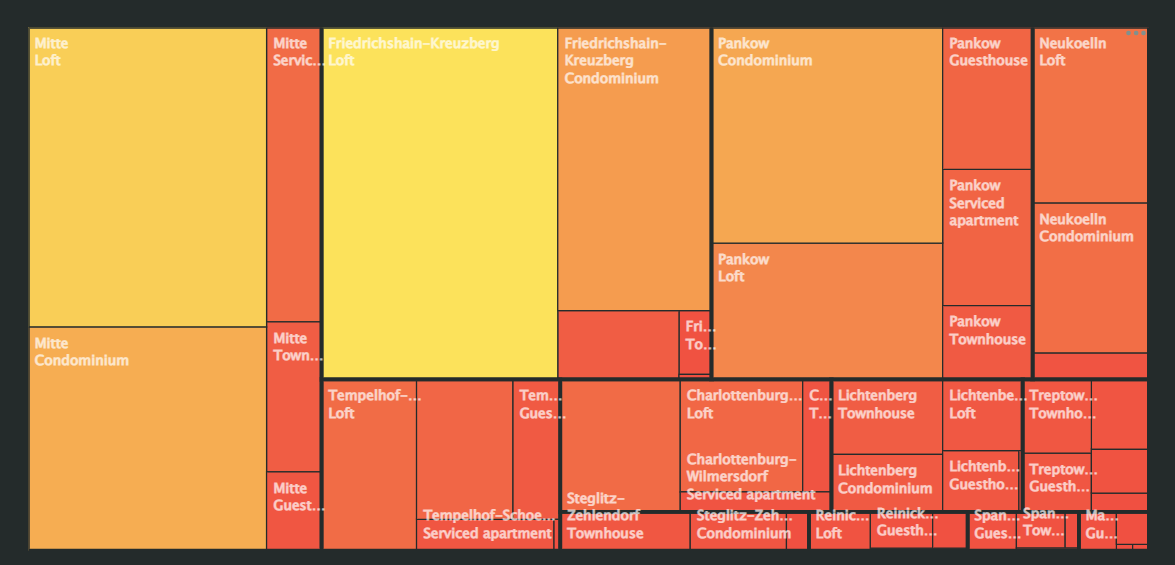
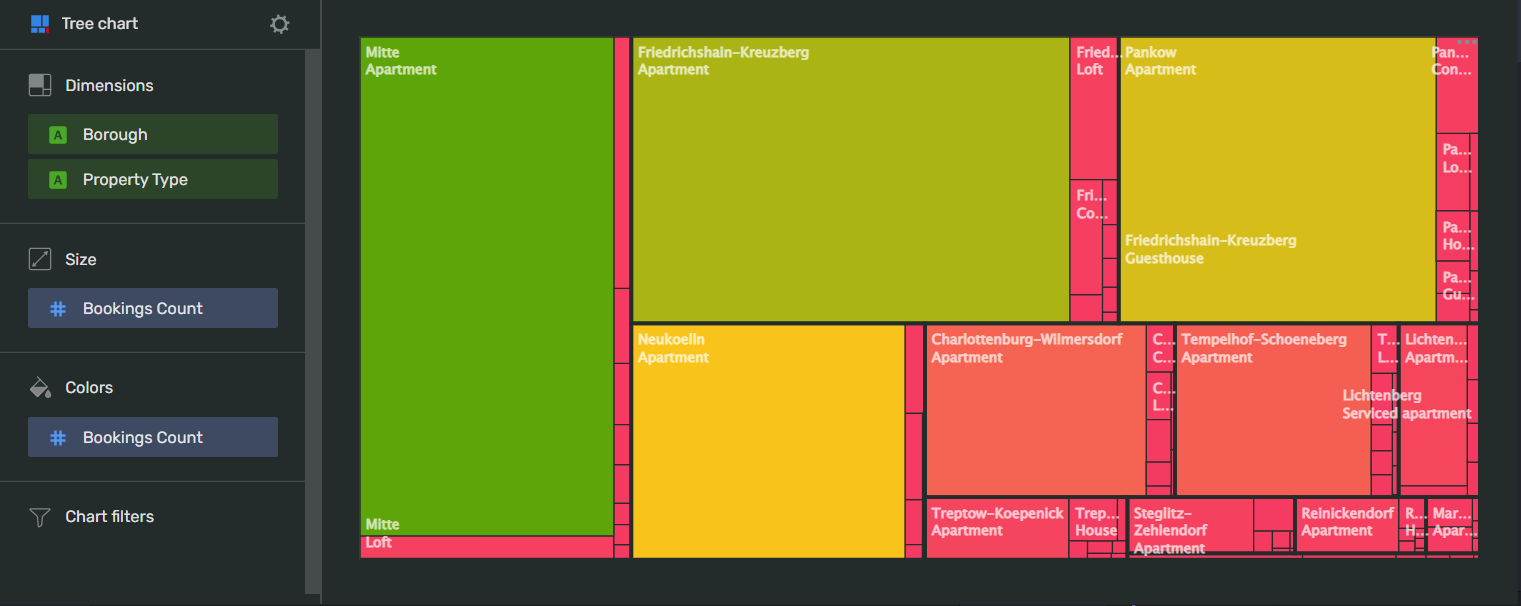
A tree chart displays hierarchy data as a set of nested rectangles.
Each hierarchy level corresponds to a dimension displayed as a colored rectangle with nested rectangles. The size of each rectangle depends on the measure value: the higher the value, the larger the size.

For example, you can use a tree chart to visually represent sales by product category and subcategory.
AI-Insights not supported
This chart type doesn’t support the AI-Insights feature.
-
Open the All workbooks overview page and select your workbook.
-
Click Create → Wizard chart. You'll see the chart creation wizard.
-
On the top left, select the Dataset you want to visualize.
-
Click the chart type field on the right of the dataset section and select Tree chart from the drop-down menu.
-
Drag and drop Measures and Dimensions to the appropriate sections of the chart (see the Data fields tab).
Your chart creation wizard should look similar to the following:

-
Click Save in the upper-right corner of the page.
-
Name your chart and click Done.
-
Choose the appropriate location for your chart by dragging it around the dashboard and resize it by dragging the lower-right corner of its frame.
-
Click Save in the upper-right corner of the page.
Note
This configuration is a segment in the overall description of Visualization assets in the workbook. For the complete tutorial, see Use Visualization API.
To describe a tree normalized chart, use the TreeMap configuration:
-
name- your chart's name. Must be unique within the workbook. -
dataset- the ID of the dataset whose data to visualize. -
ad_hoc_fields- (optional) describe the calculated fields to use in the chart:-
title: the field's title. -
id- the ID of the calculated field. Must be unique within the dataset. -
cast- the field's Visualization-specific data type -
description- (optional) the field's description in plain text format. -
hidden- (optional) iftrue, doesn't the field in the dataset's field list. If unspecified, defaults tofalse. -
aggregation- applies aggregation to the field. -
calc_spec- defines the data field specification.
-
-
visualization- describe the configuration of your chart:-
kind: treemap- specify the chart type. -
dimensions- configure the data reference for dimensions:-
source- specify the data source:-
kind: ref- take the data from the reference data source. This is the dataset specified above. -
id- specify the ID of the data field from the dataset whose data will be used to visualize the Y axis.
-
-
-
measures- configure the data reference for measures:-
source- specify the data source:-
kind: ref- take the data from the reference data source. This is the dataset specified above. -
id- specify the ID of the data field from the dataset whose data will be used to visualize is the X axis.
-
-
-
sort- (optional) specify the data field to be used as a sorting reference:-
source- specify the data source:-
kind: ref- take the data from the reference data source. This is the dataset specified above. -
id- specify the ID of the data field from the dataset whose data to use as sorting reference.
-
-
direction- configure the sorting direction to apply to the chart. You can assignASCfor ascending orDESCfor descending.
-
-
coloring(optional):-
kind- specify which data type field to use as a color filter. You can specifya dimensionormeasure. -
source- specify the data source:-
kind: ref- take the data from the reference data source. This is the dataset specified above. -
id- specify the ID of the data field from the dataset whose data will be used as a color filter.
-
-
palette_id- select the palette to apply to the chart. For most cases, usedefault-palette. -
mounts- assign colors from the palette to data points from the source:-
value- specify the exact value from thesource. -
color_idx- match the above value to a color swatch number in the palette.
-
-
-
API example
- name: ch_treemap_sales_per_region
chart:
   datasets:
   - ds_sales
   ad_hoc_fields: []
   visualization:
      kind: treemap
      dimensions:
      - source:
         kind: ref
         id: region
      - source:
         kind: ref
         id: category
      measures:
      source:
         kind: ref
         id: sum_sales
      sort: []
      coloring:
      kind: dimension
      source:
         kind: ref
         id: category
      palette_id: default-palette
      mounts:
      - value: South
         color_idx: 16
      - value: East
         color_idx: 7
      - value: West
         color_idx: 17
      - value: Central
         color_idx: 8
| Wizard slot | Description |
|---|---|
| Dimensions | Dimension. Multiple-field slot. Determines the hierarchy tree of nested rectangles. |
| Size | Measure. Single-sield slot. Determines the sizes of the rectangles. |
| Colors | Dimension or Measure Names. Affects rectangle colors.You can add a Measure Names or Measure Values field to this slot. |
| Chart filters | Dimension or Measure. Used to filter values. You can add a Measure Names or Measure Values field to this slot. |
To open chart settings, click
| Control | Default state | Description |
|---|---|---|
| Header | Off |
Displays the specified text in the centered line above the chart. |
After managing the controls, click Apply to see the results on the chart preview.
To open slot settings, click
Color:
On the left, you can select a line from a data source in the Colors slot of your chart.
On the right, you can select a color scheme and a color for the line. Select AUTO to let Visualization do the coloring for you.
-
If you want to display fewer than 6 categories in a single chart, we recommend using a pie chart or a donut chart.
-
This chart type can't display
NULLor negative values.